

A small leak or a clogged pipe rarely looks like a big deal at first glance, which is exactly why so many homeowners underestimate it. What starts as a damp patch on the ceiling or a slow-draining sink can quietly spread into rotted framing, ruined flooring, and mold that costs thousands to fix. Most of this damage traces back to the same handful of amateur mistakes made by well-meaning homeowners trying to save money. Understanding where these errors happen most often is the first step toward protecting your home and your budget.
Ignoring Small Roof Leaks Until They Spread
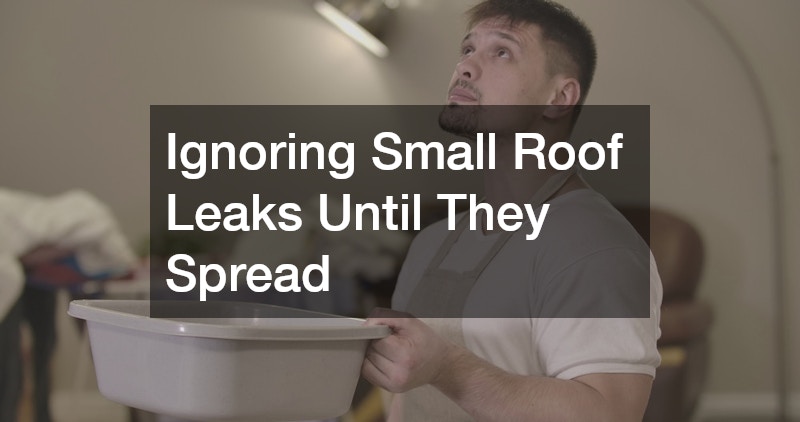
A roof leak rarely announces itself with a dramatic flood. Instead, it shows up as a faint water stain, a musty smell in the attic, or a few missing shingles after a storm. Homeowners often assume these are cosmetic issues and put off calling anyone, which gives water months to seep into insulation, drywall, and structural wood.
By the time the damage becomes visible on a ceiling below, the underlying wood may already be soft or rotting. A qualified roofing contractor can catch these problems early, often for the cost of a simple repair rather than a full replacement. Waiting until water is actively dripping means you are no longer dealing with a maintenance issue, you are dealing with a restoration project.
- Check attics and ceilings for discoloration after heavy rain
- Have your roof inspected every one to two years, especially after storms
- Address missing or curling shingles immediately rather than waiting for the next inspection
- Watch for granules collecting in gutters, a sign of shingle deterioration
Skipping Regular Gutter Maintenance and Upgrades
Gutters are one of the most overlooked systems in a home, yet they carry an enormous amount of water away from the foundation every time it rains. When they clog with leaves and debris, water overflows and pools right next to the house, seeping into basements and crawl spaces. Many homeowners wait years between cleanings, not realizing that a single clogged section can redirect gallons of water toward the foundation.
If your existing gutters are undersized, poorly sloped, or original to an older home, professional gutter installation can solve problems that cleaning alone never will. Properly sized gutters and downspouts move water several feet away from the foundation, which protects both the basement and the landscaping below. This is a one-time investment that prevents a recurring, expensive problem.
- Clean gutters at least twice a year, more often near trees
- Make sure downspouts extend at least three to five feet from the foundation
- Look for sagging sections, which indicate trapped water weight
- Consider guards or covers if leaf debris is a constant issue
Letting Lawn Irrigation Spray Too Close to the House
An automated lawn watering setup is convenient, but many homeowners install or adjust sprinkler systems without thinking about spray patterns near the foundation. Heads aimed too close to the house repeatedly soak siding, window frames, and foundation walls, creating slow, hidden moisture problems that show up as basement dampness or peeling paint. Over months and years, this constant exposure can warp wood trim and weaken foundation seals.
The general rule of thumb is to keep sprinkler heads at least 2 to 3 feet away from the foundation, with the spray pattern angled outward toward the lawn rather than back toward the house. Pop-up rotor heads are especially prone to misalignment after mowing or seasonal adjustments, so a quick walk-through test each spring can catch heads that have drifted out of position. Even a slight tilt can mean hundreds of gallons of extra water hitting the same six-inch strip of soil every week.
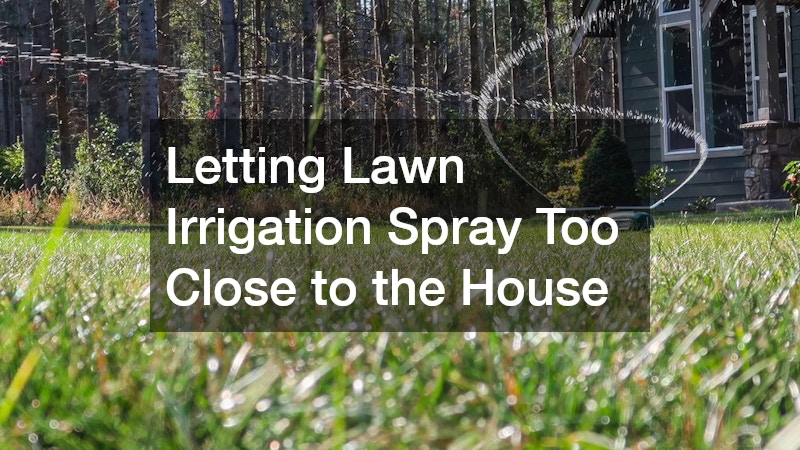
The damage often compounds because it’s invisible until it isn’t. Water that collects against the foundation saturates the soil, increasing hydrostatic pressure against basement walls and encouraging cracks that let moisture seep through. Mulch beds pushed right up against the house make it worse, trapping moisture against siding and inviting termites and wood rot in addition to water intrusion.
Fixing the problem is usually cheap compared to the repair bill it prevents. Adjustable nozzles, matched precipitation heads, or simply capping off heads within a few feet of the house can redirect water where it belongs. A drip irrigation line for foundation-adjacent plantings, instead of overhead spray, is often a smarter long-term choice.
A well-designed irrigation layout keeps water focused on the lawn and garden beds, not the structure itself. Sprinkler heads should sit at least 2 feet away from the foundation, and rotor or spray heads pointed toward the house are one of the most common culprits behind slowly saturated crawl spaces and damp basement walls. Over months or years, that daily overspray can soften soil, encourage foundation cracks, and wick moisture directly into siding or brick.
Checking spray direction and timer settings a few times a year — ideally once each season — prevents this avoidable source of water intrusion. Pay attention to pop-up heads that may have shifted after mowing or aeration, since even a slight rotation can send a fan of water straight at the wall instead of across the yard. Also check timer settings after seasonal changes, since overwatering in cooler months keeps the ground saturated longer and gives water more opportunity to migrate toward the foundation.
If you are unsure whether your system is contributing to moisture problems, a simple walk-around during a watering cycle will tell you quickly. Look for wet patches on siding, mulch that stays soggy long after the cycle ends, or water pooling near the base of the house. Adjusting a single misdirected head or shortening a cycle by a few minutes can be the difference between a healthy lawn and a foundation repair bill.
- Adjust sprinkler heads so spray arcs stay on the lawn, not on siding, windows, or doors
- Water early morning (roughly 4-8 a.m.) so moisture dries by midday instead of sitting on walls overnight
- Walk the yard monthly to check for broken, tilted, or clogged heads spraying in the wrong direction
- Keep at least two feet of buffer between spray zones and the foundation, more for high-pressure heads
- Choose drip irrigation or soaker hoses near the house instead of rotor or spray heads
- Check that sprinkler timers aren’t running during rain, which adds unnecessary saturation near the foundation
- Watch for pooling water near basement window wells, a sign spray or runoff is reaching areas that need immediate rerouting
Overlooking Slow Drains and Pipe Backups
A slow bathroom or kitchen drain often gets ignored because it still technically works. Homeowners pour a bottle of store-bought cleaner down the pipe and move on, not realizing that a partial clog can be a warning sign of a much larger blockage forming further down the line. Left unaddressed, this can lead to backups that send water spilling across floors and into cabinetry.
Professional drain cleaning clears buildup that home remedies cannot reach, especially grease, mineral deposits, and root intrusion in older pipes. Catching these issues early avoids the far more expensive scenario of a burst or backed-up line flooding a bathroom or kitchen. Regular attention to slow drains is one of the simplest ways to prevent an unexpected indoor flood.
- Note if drains slow down gradually over several weeks, a sign of building blockage
- Avoid relying solely on chemical drain cleaners, which can damage older pipes
- Schedule a professional inspection if multiple drains slow down at once
- Pay attention to gurgling sounds, which often indicate venting or blockage issues
Neglecting Backyard Pool Plumbing and Surrounding Grading
An in ground pool adds tremendous value to a backyard, but its plumbing and surrounding grading require consistent attention that many owners skip after the initial installation excitement fades. Cracked pipes, failing seals, or improperly sloped decking can send water seeping toward the house instead of away from it. Because pool systems run largely underground and out of sight, leaks often go unnoticed until water bills spike or nearby soil becomes unusually soft.
Grading matters just as much as the plumbing itself. If the ground around the pool slopes toward the house rather than away from it, every splash and overflow event becomes a potential source of foundation moisture. A periodic check of water levels, pump pressure, and surrounding soil can catch problems long before they become expensive repairs.
- Monitor water levels for unexplained drops, which may indicate a leak
- Check that decking and surrounding soil slope away from the home
- Inspect pump and filter connections annually for wear or leaks
- Watch for unusually lush or soggy grass patches near the pool, a common leak indicator

Choosing the Wrong Materials for Outdoor Drainage Projects
Landscaping decisions have a bigger impact on water damage than most homeowners realize. Soil, mulch, and stone purchased from landscape supply companies without considering drainage needs can inadvertently direct water toward the foundation instead of away from it. Piling mulch or soil against siding, for example, traps moisture against the house and invites both rot and pests.
Choosing the right grading materials and understanding how they affect water flow is just as important as the landscaping’s appearance. A knowledgeable supplier can recommend materials that support proper drainage while still achieving the look you want for your yard. Taking the time to plan drainage before a landscaping project prevents costly regrading later.
- Keep mulch and soil at least six inches below siding
- Choose gravel or stone borders where drainage is a concern
- Ask suppliers about grading recommendations for your specific soil type
- Avoid raising garden beds directly against the foundation wall
Missing the Connection Between Pests and Hidden Moisture
Water damage and pest problems often travel together, but homeowners rarely think to connect the two. Termites, carpenter ants, and rodents are drawn to damp wood and moist crawl spaces, which means an infestation can actually be a symptom of an underlying moisture issue rather than a standalone problem. Ignoring small pest sightings can allow both the infestation and the water damage driving it to worsen simultaneously.
Investing in residential pest control that includes moisture inspection, not just chemical treatment, gives homeowners a more complete picture of what is happening inside their walls and crawl spaces. Technicians trained to spot conducive conditions will often flag leaks or ventilation problems that homeowners never noticed. Addressing the pest issue alone without fixing the moisture source almost guarantees the problem returns.
- Watch for mud tubes on foundation walls, a sign of subterranean termites
- Note any musty smells in crawl spaces, often linked to both pests and moisture
- Ask pest control technicians to flag any moisture or ventilation concerns they observe
- Improve crawl space ventilation to reduce conditions that attract pests
Handling Water Damage and Paint Repairs the Wrong Way
Once water damage has occurred, how homeowners respond in the following days makes a huge difference in the final cost. Many people try to dry out affected areas with fans and open windows alone, not realizing that moisture can linger inside walls, insulation, and subfloors for weeks after the surface appears dry. A drywall panel that feels dry to the touch may still hold 20% or more moisture content deep inside, and that trapped humidity is exactly what mold needs to take hold. This is where amateur intervention often backfires. Homeowners paint over water stains to hide the damage, sealing moisture inside the wall cavity instead of removing it. Others rip out drywall themselves without checking framing or insulation behind it, leaving hidden pockets of saturation that continue to feed mold growth for months.
Professional water damage cleaning restoration uses specialized equipment — moisture meters, infrared cameras, and industrial dehumidifiers — to measure and remove hidden moisture that a surface-level dry-out cannot address. Technicians can pinpoint exactly which studs, joists, or insulation batts are still wet, rather than guessing based on appearance alone. The cost difference between the two approaches is significant. A DIY dry-out that misses trapped moisture can lead to mold remediation bills of $2,000 to $6,000 down the road, while catching the problem early with professional drying typically costs a fraction of that and prevents the need to repaint or replace drywall a second time.
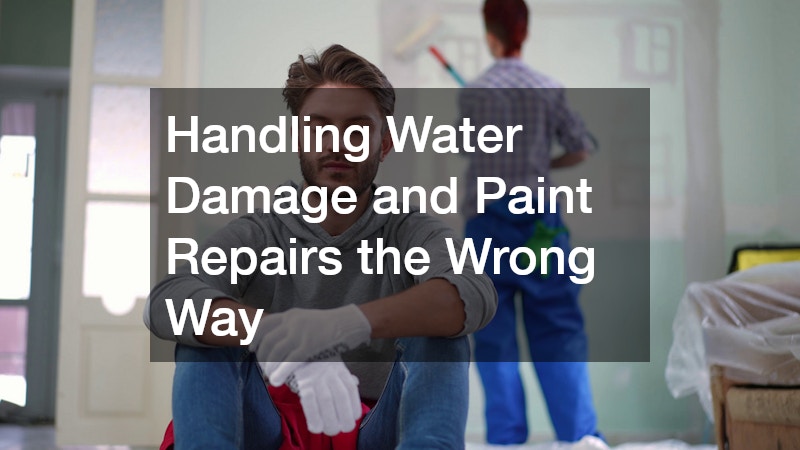
Cosmetic repairs should always come after the structure is confirmed dry, not before. A moisture meter reading below 15% for wood and drywall is generally the benchmark contractors look for before any paint touches the surface. Painting over a water stain without resolving the moisture source is a common mistake that only masks the problem temporarily, often for a matter of weeks before the discoloration bleeds right back through.
This shortcut gets tempting because stain-blocking primers do a convincing job of hiding damage in the short term. But if the leak or humidity issue behind the wall hasn’t been fixed, mold can continue developing unseen, and the paint job itself may bubble, peel, or crack within a season. Homeowners who skip the drying-out period frequently end up paying twice: once for the rushed cosmetic fix, and again when the underlying damage forces a full repair.
Once everything is properly dried and repaired, experienced house painters can restore the look of ceilings and walls with finishes designed to resist future moisture and staining. Many will also recommend mold-inhibiting primers or moisture-resistant paints in bathrooms, basements, and other high-humidity areas as a preventive measure. Getting a professional moisture assessment before repainting isn’t just about aesthetics — it’s the difference between a repair that lasts and one that quietly fails behind a fresh coat of paint.
- Use moisture meters, not visual inspection alone, to confirm an area is dry — readings should drop below 15% for wood and 1% for concrete before repairs begin
- Avoid painting over stains until the source of the leak is fully resolved, since fresh paint can trap moisture and cause new blistering within weeks
- Remove and replace waterlogged drywall or insulation rather than drying in place, especially if water sat for more than 24-48 hours, a common threshold for mold growth
- Cut drywall at least 12 inches above the visible waterline to catch wicking damage that isn’t obvious yet
- Choose mold-resistant paint for areas prone to humidity or past water exposure, and pair it with a mold-inhibiting primer for extra protection
- Check surrounding studs and subfloor for softness or discoloration before closing up the wall again
Most water damage disasters do not start with a dramatic flood, they start with a small, ignored problem that snowballs over time. By paying attention to your roof, gutters, drains, pool systems, and landscaping, you can catch issues while they are still inexpensive to fix. When damage does occur, acting quickly and addressing the root cause rather than just the surface will save you thousands in the long run. Take a walk around your property this week and check the areas outlined above before a minor issue becomes a major repair bill.
