

Warmer weather brings dreams of backyard pool parties, but before you fill an above ground pools installation with water, your yard needs a hard look at how it handles moisture. Many homeowners discover too late that soggy patches, slow-draining low spots, or a waterlogged lawn were signs of a bigger drainage issue lurking beneath the surface. Left unaddressed, these problems can undermine pool foundations, damage landscaping, and even seep into your home’s structure. This guide walks through the most common backyard drainage culprits so you can fix them before pool season turns into a soggy mess.
Identify Low Spots and Standing Water Before Digging
Before any pool installation begins, walk your yard during or right after a heavy rain and note exactly where water pools and how long it lingers. These low-lying areas often indicate poor grading, compacted soil, or a natural depression that will only get worse once you add thousands of gallons of pool water nearby. Take photos and mark problem spots with stakes or flags so you can reference them later when discussing plans with a contractor. Standing water for more than 24 hours after rainfall is a red flag that your yard cannot properly disperse moisture on its own. Pay close attention to areas within 10 feet of where the pool will sit, since even minor drainage issues get amplified once decking, patios, or retaining walls change how water moves across the surface. Also check for secondary clues beyond obvious puddles: soggy or spongy turf, moss growth in shaded corners, mosquito activity, or mulch that stays dark and wet long after neighboring areas have dried. A simple test is to dig a hole about 12 inches deep, fill it with water, and time how long it takes to drain — anything beyond a few hours suggests compacted or clay-heavy soil that will need amending or rerouting before construction starts.
Before any digging begins, walk your yard 24-48 hours after a heavy rain and note where water lingers longest. Puddles that stick around for more than a day, soggy patches of grass, or areas where mulch has washed away are all telltale signs of poor drainage. A simple test: push a screwdriver into the soil in different spots — if it’s noticeably harder to push in some areas than others, that inconsistency often points to compacted soil or a hidden drainage issue. Mapping these problem zones early gives you a clearer picture of what regrading or drainage work might be needed. Even a rough sketch of your yard marking wet spots, slopes, and downspout locations can save you from costly surprises once installation begins. It also helps you avoid placing a pool directly on top of an area prone to shifting or erosion. Low spots near property lines or close to your home’s foundation deserve extra scrutiny, since water pooling there can lead to structural issues down the road. If you notice multiple low spots or a yard that slopes toward your house rather than away from it, it may be worth consulting a landscaper before committing to a pool location.
- Walk the yard 24 to 48 hours after rain and mark wet spots with flags or spray paint
- Check if water pools near the foundation, fence lines, or planned pool site, since these areas need reliable runoff paths once construction begins
- Note any areas where grass struggles to grow, turns yellow, or stays muddy long after rain due to excess moisture
- Look for soil erosion, small gullies, or exposed roots, which often signal where water repeatedly flows
- Check gutters and downspouts to see where they discharge, as poor placement can create hidden low spots nearby
- Compare drainage patterns across different seasons for accuracy, since spring thaw and summer storms can reveal issues a single rain check misses
Inspect Your Gutter and Downspout Runoff Paths
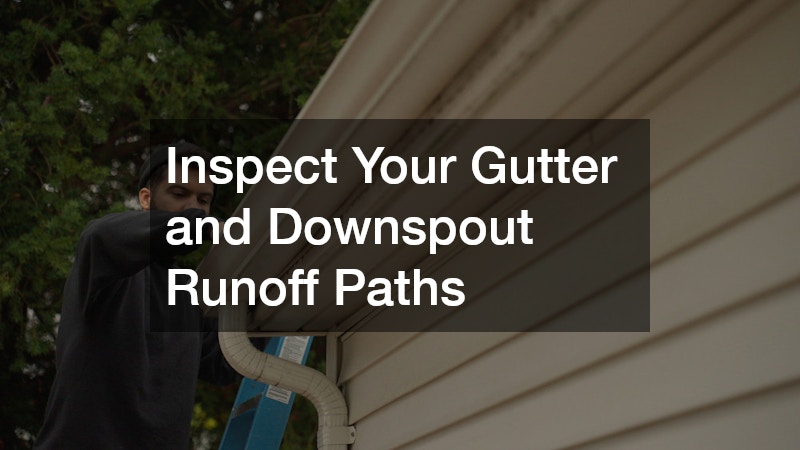
A surprising number of backyard drainage issues actually start at the roofline. If gutters are clogged or downspouts empty too close to the house, that water travels straight into your yard and saturates the soil where you least want it. This is especially important to check before pool season, since added water volume from a full gutter system can quickly overwhelm an already struggling yard.
If you notice sagging gutters, granules in the downspout runoff, or water stains on the siding, it may be time to call in roofers to assess whether the roofing system itself is contributing to the problem. A professional inspection can catch small issues, like a missing shingle or damaged flashing, before they turn into major water intrusion problems that affect your entire property.
- Extend downspouts at least four to six feet away from the foundation
- Clean gutters at least twice a year, more often near trees
- Check for water stains or erosion directly below downspout outlets
- Consider splash blocks or underground drain extensions for better flow
Test Your Septic System Before Adding Pool Weight Nearby
If your property relies on a septic system, pool placement matters more than most homeowners realize. Saturated soil above a septic field can slow drainage even further, and the weight of a pool or the water used to fill it can stress an already taxed system. Scheduling septic tank pumping before pool season is a smart precaution, especially if it has been more than three years since your last service.
A full or poorly functioning tank can lead to backups that mix with your yard’s existing drainage problems, creating an unpleasant and potentially unsanitary situation. Getting the tank inspected and pumped also gives you a chance to confirm the exact location of your septic field, which you will want to avoid when planning where the pool goes.
- Keep pools at least 20 feet away from septic tanks and drain fields
- Schedule pumping every three to five years depending on household size
- Watch for slow drains or gurgling pipes as early warning signs
- Ask your service provider to mark field boundaries during the visit
Evaluate Soil Compaction and Grading Around the Pool Site
Soil that is too compacted cannot absorb water efficiently, which forces runoff to travel across the surface instead of soaking in. This is a common issue in yards where heavy equipment, foot traffic, or previous construction compressed the ground over time. Before pool installation, it helps to aerate the soil or bring in a professional to evaluate whether regrading is necessary.
Proper grading directs water away from both your home and the pool area, typically sloping at least one inch per foot for the first six to ten feet. Getting this right now prevents erosion under the pool base later, which can cause uneven settling and costly repairs.
- Aerate compacted soil in spring before heavy rains begin
- Aim for a gentle slope away from structures, not toward them
- Add organic matter to improve soil absorption over time
- Avoid parking vehicles or equipment repeatedly on the same soil area
Check Tree Roots and Overhanging Branches Near Drainage Paths
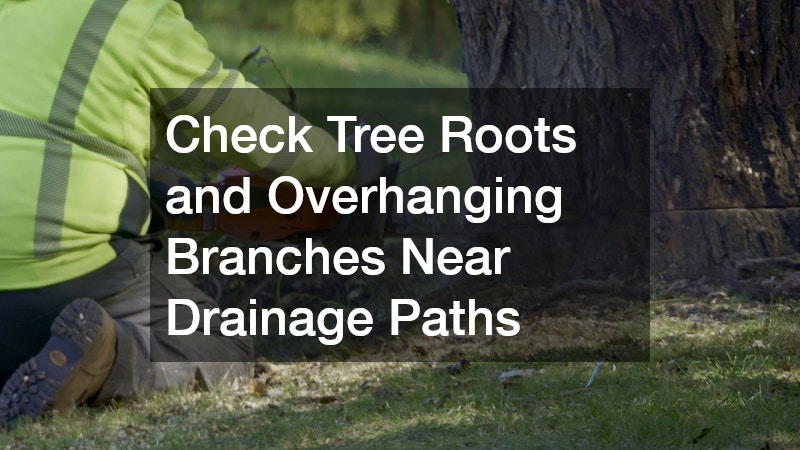
Large trees can be a hidden source of backyard drainage trouble, especially when their root systems interfere with underground pipes or absorb water unevenly across your property. Roots seeking moisture can crack drainage lines or septic pipes, leading to slow leaks that saturate the surrounding soil. If you have trees close to your planned pool site, it is worth having them assessed before construction begins.
In some cases, professional tree cutting services are necessary to remove roots that pose a structural risk or to thin overhanging branches that drop debris into gutters and drains. Removing the right trees, or trimming them strategically, can significantly improve how water moves across your yard and reduce future maintenance headaches.
- Keep large trees at least 10 feet from pool structures and drain lines
- Watch for cracked pavement or lifted soil near tree bases
- Schedule root inspections if drains near trees clog repeatedly
- Trim overhanging branches to reduce leaf litter in gutters
Address Foundation Cracks Linked to Yard Water Intrusion
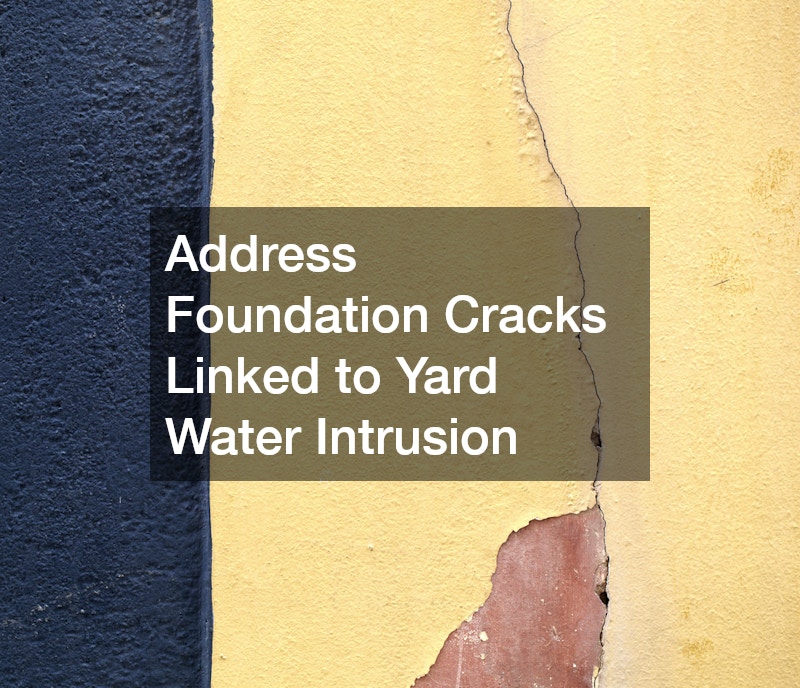
Drainage problems in the backyard rarely stay contained to the yard alone. Excess water pooling near your home’s foundation can seep into basement walls or crawl spaces, leading to cracks that worsen over time. If you are already planning home improvements before pool season, it is worth having a professional look at foundation walls for early signs of moisture damage.
This is also a good time to loop in home remodeling contractors if you are considering broader outdoor changes, such as a new patio, retaining wall, or updated landscaping around the pool area. Coordinating these projects together often saves money compared to tackling drainage fixes and structural repairs separately down the road.
- Look for horizontal or stair-step cracks in foundation walls
- Check crawl spaces for musty odors or visible dampness
- Address grading issues before sealing or patching cracks
- Combine drainage fixes with other exterior renovation plans when possible
Inspect the Chimney and Roofline for Water Diversion Issues
It might seem unrelated, but chimney condition can actually play a role in overall water management around your property. A deteriorating chimney crown or damaged flashing allows water to run down the exterior wall instead of being properly diverted through the gutter system. Over time, this contributes to soil saturation right at the base of your home, compounding existing yard drainage issues.
Scheduling chimney repair alongside other seasonal maintenance ensures that every water pathway on your roof is doing its job correctly. Catching a damaged crown or cracked flashing early is far less expensive than dealing with the water damage it can cause both indoors and in the surrounding yard.
- Inspect chimney flashing annually for rust or separation
- Check for water stains on the wall directly below the chimney
- Repair small cracks in the chimney crown before they widen
- Ensure chimney runoff is directed away from the foundation
Check for Pest Activity That Signals Excess Moisture
Persistent moisture in your yard does not just damage soil and structures, it also attracts unwanted pests. Damp mulch, decaying wood, and humid crawl spaces create ideal conditions for insects to thrive, and homeowners are sometimes surprised to learn that bed bug pest control needs can be indirectly linked to excess humidity carried indoors on furniture or bedding stored near damp areas. While bed bugs themselves are not caused by yard drainage, persistent dampness in storage areas or sheds can make infestations harder to control once they start.
Termites, mosquitoes, and other moisture-loving pests are more directly tied to poor drainage, and their presence is often an early clue that water is sitting somewhere it should not be. Addressing the root drainage issue makes any pest control treatment more effective and longer lasting.
- Keep firewood and stored items off damp ground
- Watch for mosquito breeding in areas with standing water
- Check sheds and outbuildings for moisture buildup
- Treat pest issues alongside drainage repairs for lasting results
Plan the Pool Deck Material With Drainage in Mind

Once your drainage issues are addressed, choosing the right decking material around your above ground pools setup makes a real difference in long-term performance. Porous materials allow water to filter through rather than pooling on the surface, which reduces slip hazards and prevents water from being directed back toward the pool base. Many homeowners are now looking at Travertine for sale as a decking option because it stays cooler underfoot and naturally drains better than solid concrete slabs.
When comparing materials, think about how each option handles the water runoff from splashing, rain, and regular pool maintenance. A well-chosen deck surface works with your yard’s drainage system rather than against it, extending the life of both the pool and the surrounding landscape.
- Choose porous or textured materials to reduce surface pooling
- Slope decking slightly away from the pool for proper runoff
- Avoid materials that trap water underneath, which can shift over time
- Compare cost and maintenance needs before committing to a material
Refresh Your Outdoor Living Space After Drainage Repairs
Once the underlying water issues are resolved, it is worth considering how the rest of your outdoor space will look and function for the season ahead. Some homeowners take this opportunity to update fencing, lighting, or seating areas near the new pool, while others focus on smaller touches that make the space more inviting. If your patio furniture or storage shed needs a refresh, an interior painting service can sometimes extend to exterior touch-ups on adjacent structures, giving your whole backyard a cohesive, finished look.
While propane is commonly associated with grills and fire pits, it is also worth checking that any propane lines or tanks near your pool area are positioned away from low-lying, water-prone spots identified earlier in your drainage assessment. Keeping fuel sources on stable, well-drained ground reduces safety risks and protects the equipment from corrosion caused by prolonged moisture exposure.
- Position propane tanks on elevated, well-drained pads
- Refresh outdoor furniture and structures once drainage work is complete
- Add lighting or landscaping to highlight the improved space
- Schedule cosmetic updates after functional repairs are finished
Tackling backyard drainage before pool season takes some upfront effort, but it protects your investment and saves you from far bigger headaches once summer arrives. Start with a simple walk-through after the next rainstorm, take note of problem areas, and work through the checks outlined above one by one. Addressing these issues now means you can spend the season actually enjoying your pool instead of troubleshooting water problems underneath it.
