

You poured time and money into a beautiful new patio, and by the time spring arrived, it looked cracked, sunken, or heaved out of place. This is a frustrating but common outcome, and it almost always traces back to a handful of preventable mistakes made before the first paver or slab was ever set. Understanding what went wrong is the first step toward fixing it correctly and making sure it does not happen again. Below, we break down the most common culprits behind winter patio failure and what you can do about each one.
Poor Base Preparation Before Installation

The single biggest reason patios fail after one winter is an inadequate base. A patio needs a properly compacted layer of gravel or crushed stone beneath it, typically four to eight inches deep depending on soil type and climate, to allow water to drain and to resist the upward pressure of frost heave. When contractors skip proper compaction or use the wrong base material to save time and money, the patio surface has nothing stable to rest on once the ground freezes and thaws repeatedly.
If you are sourcing materials yourself or working with an installer, ask specifically what base material they plan to use and how they will compact it. Reputable building supplies retailers can tell you exactly what depth and type of aggregate is recommended for your regional frost line. Cutting corners here is invisible on installation day but becomes painfully obvious after one hard winter.
Frost Heave and Freeze Thaw Damage
Frost heave happens when moisture in the soil beneath your patio freezes, expands, and pushes the surface upward unevenly. As temperatures fluctuate through the winter, this freezing and thawing cycle repeats dozens of times, gradually shifting pavers, cracking concrete, and creating trip hazards. The deeper your region’s frost line, the more critical it is that your base extends below that depth.
- Frost heave is more severe in clay soils that hold water than in sandy, well-draining soils
- Uneven heaving often shows up first at the edges of a patio where support is weakest
- Repeated freeze thaw cycles cause more damage than one prolonged deep freeze
- Signs of heave include lifted corners, gaps between pavers, and hairline cracks in concrete slabs
Drainage Problems Around the Patio Surface
Water that has nowhere to go is the enemy of any outdoor hardscape. If your patio was built without proper slope, typically a minimum of one quarter inch per foot away from your house, water pools on the surface and seeps into joints and cracks. Once that water freezes, it expands and accelerates every other form of damage already at play.
Good drainage design also considers where downspouts empty and how the surrounding landscape sheds water during heavy rain or snowmelt, as well as underground factors like septic systems that can affect soil saturation nearby, which is why homeowners scheduling septic pumping services should also have their installer check how that area drains in relation to the patio. A patio installed too close to a poorly graded yard will keep failing no matter how many times it is repaired unless the underlying water flow is corrected. This is often overlooked because it is not visible until the following winter.
Concrete Curing Mistakes and Weather Timing
If your patio is poured concrete rather than pavers, the timing and conditions during curing matter enormously. Concrete needs a minimum of several weeks to properly cure and reach adequate strength before it can withstand freezing temperatures without damage. Installers who pour too late in the season, or who fail to protect fresh concrete from an early frost, set the project up for scaling, spalling, and cracking almost immediately.
- Concrete poured in cold weather needs insulating blankets or heated enclosures to cure properly
- Deicing salts should never be used on new concrete during its first winter
- Air-entrained concrete mixes resist freeze damage far better than standard mixes
- A minimum 28 day cure time is standard before a patio should face sustained freezing conditions
Material Selection for Cold Climates
Not all patio materials perform equally well through repeated freeze thaw cycles. Natural stone, dense clay pavers, and properly rated concrete pavers are engineered to absorb minimal water and resist cracking, while cheaper or porous materials soak up moisture and fail quickly. Choosing the right product for your specific climate zone is just as important as the installation technique itself.
When shopping for materials, ask suppliers about the freeze thaw rating or water absorption rate of any stone or paver product before committing. Many manufacturers formulate regional product lines specifically for local winter conditions, and paying a bit more upfront for the right material saves you from a costly redo. It is also worth checking whether the manufacturer offers a written warranty tied to climate performance.
Roof and Gutter Runoff Affecting Patio Longevity
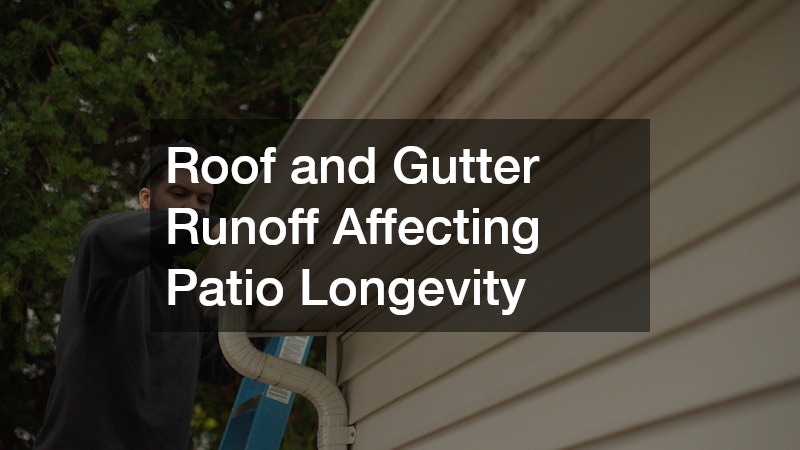
A surprising number of patio failures actually start above the ground rather than below it. If your home’s roof is aging, damaged, or has gutters that overflow, excess water gets funneled directly onto or near your patio every time it rains or snow melts. A single missing gutter section or a downspout that ends right at the patio’s edge can dump hundreds of gallons of water onto the same six-foot stretch of ground during a heavy storm. Over time this saturates the soil beneath the patio and dramatically worsens frost heave and erosion. Once that soil is oversaturated, freeze-thaw cycles push and pull on the base material with far more force than dry or properly drained soil would experience, cracking pavers and shifting slabs out of alignment. Clogged gutters compound the problem further, since leaves and debris cause water to overflow along the entire roofline instead of channeling through the downspouts as designed. It’s worth inspecting your gutters and downspouts before winter sets in, checking specifically for sagging sections, disconnected joints, and downspouts that discharge within two or three feet of the patio surface. Extending downspouts to release water at least five to six feet away, and grading the soil so it slopes away from the patio, can prevent this concentrated runoff from undermining the base year after year.
Before you invest in patio repairs, it is worth having your roof inspected to rule out this hidden contributor. Roofs shed an enormous amount of water during heavy rain and snowmelt, and if that runoff isn’t directed properly, it can concentrate right at the edge of your patio, saturating the base material and accelerating freeze-thaw damage over winter. Working with experienced roofing contractors to confirm your gutters and downspouts are directing water well away from your patio area can prevent a repeat failure. As a general rule, downspout extensions should carry water at least 4 to 6 feet away from the foundation and any adjacent hardscaping, and the ground should slope away at roughly a quarter-inch per foot to keep water moving in the right direction. A qualified roofer can also check for clogged gutter runs, misaligned downspout extensions, or splash blocks that have shifted out of place, all of which can quietly funnel water straight into the soil beneath your hardscaping and undo months of careful patio work. They will typically look for sagging gutter sections that pool water instead of channeling it, granule buildup or debris blocking the flow, and seams or end caps that have started to leak. It’s worth scheduling this kind of inspection at least once a year, ideally in fall before winter storms arrive, since even small issues like a half-inch gutter sag can redirect gallons of water toward your patio’s edge over the course of a season.
Septic System Proximity and Soil Movement
If your patio sits near a septic tank, drain field, or septic line, soil conditions in that area behave differently than the rest of your yard. Septic fields are engineered to disperse wastewater into the surrounding soil, which means the ground there tends to stay damper and more saturated than soil elsewhere on your property. That extra moisture makes the earth more prone to expansion, contraction, and settling as temperatures swing throughout the year. Winter makes this worse. When saturated soil near a drain field freezes, it expands upward, and when it thaws, it can settle unevenly or even collapse into small voids left behind by decomposing pipe beds or aging tank walls. A patio built directly over or within a few feet of these components has little chance of staying level once that cycle repeats itself over a season. This is especially true if the system hasn’t been properly maintained. A septic tank that’s due for pumping, a drain field with a slow leak, or a line with a partial blockage can all lead to excess saturation in a concentrated area, accelerating soil movement right where your patio’s foundation depends on stability. Most local codes recommend keeping hardscaping at least 10 feet away from a septic tank and even farther from the drain field itself, but many patios get built closer out of convenience or because the property owner didn’t have accurate records of where the system was located.
If your patio sits anywhere near a septic system, soil movement from that system is a prime suspect for the cracking and sinking you’re seeing. Septic tanks and drain fields rely on soil that can absorb and release moisture in a predictable way, and when that balance is disrupted, the ground above and around it shifts. A patio built too close to these components is essentially resting on unstable footing, no matter how well the base was prepared. Routine septic pumping helps prevent the kind of soil saturation and settling that can destabilize nearby hardscaping. Tanks that go too long between pumpings can back up or overflow into the surrounding soil, saturating it well beyond normal levels. Most residential systems need pumping every three to five years, though households with garbage disposals or larger families may need it sooner. If you are unsure how close your patio is to your septic system’s components, a septic service technician can locate the tank and field lines and advise on safe distances for future construction. Many technicians use probing rods or camera inspections to map the system without excavation, and some can provide a scaled diagram for your records. This is worth doing before you pour a single paver, since relocating a patio after the fact is far more expensive than adjusting the plan upfront. Beyond scheduling, it’s wise to keep heavy pavers or excavation work at least ten feet from any drain field, since compacting that soil can restrict the system’s ability to absorb and disperse water properly, leading to the very shifting and sinking that damages patios above it. Even lighter structures like gravel paths or small seating areas can compact soil over time if placed too close. If your lot is small and distance is hard to maintain, consider lightweight permeable pavers or a raised deck instead, both of which put less stress on the ground below.
Insulation and Moisture Control Near Foundation Walls
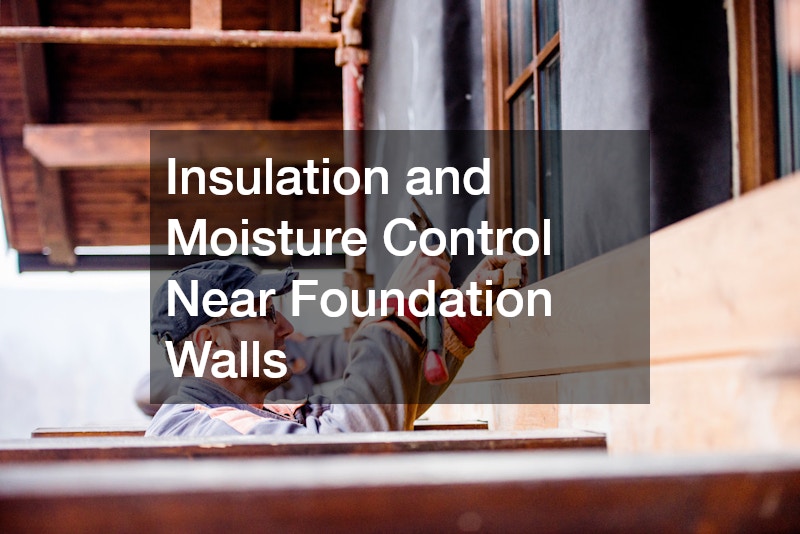
Patios built directly against a home’s foundation can be affected by moisture and temperature transfer through the foundation wall itself. Basements and crawl spaces typically hold a steady 55-65°F even in winter, and that stored heat radiates outward through the foundation wall into the soil right next to it. A few feet further out, where the patio slab actually sits, the ground has no such buffer and freezes at whatever depth local conditions dictate. Poorly insulated foundations allow more of this heat to escape, which can create uneven freezing patterns in the soil directly beneath an attached patio. The soil closest to the house may stay slightly warmer and unfrozen, while soil just a foot or two away drops below freezing and heaves upward. That differential movement puts stress exactly where the patio meets the house, since one section of the slab is essentially being held in place while the adjacent section rises and falls with the frost cycle. This uneven freezing is a lesser known but real contributor to cracking near the house line. It’s also why cracks tend to run parallel to the foundation rather than diagonally across the slab. Homes with unfinished or poorly insulated basements, older rigid foam that’s degraded over time, or missing perimeter insulation are especially prone to this pattern, and it’s worth checking foundation insulation before assuming the patio installation itself was at fault.
The freeze-thaw cycling that cracks patios often starts with an overlooked culprit: heat loss through uninsulated foundation walls. When warm air escapes through the rim joist and foundation, it warms the soil immediately adjacent to the house, while soil just a few feet away under the patio stays frigid. This temperature differential causes uneven frost heave, and the patio slab bears the brunt of it season after season. Improving insulation at the foundation level can reduce this effect significantly. Many homeowners are now turning to spray foam insulation contractors to seal foundation walls and rim joists, which reduces moisture infiltration and creates more consistent soil temperatures around the perimeter of the home. Closed-cell spray foam is particularly effective here because it also acts as a vapor barrier, typically covering foundation walls to a depth of two to four feet below grade to interrupt the frost line’s reach. Homeowners who have already invested in a roof installation to improve overall home performance often overlook that similar attention to foundation insulation can protect exterior hardscapes as well. Gutters and downspouts play a supporting role too — a roof system that dumps water within a few feet of the foundation undermines even the best insulation work, so extending downspouts at least four to six feet away from the house should be part of the same project. This is a less obvious fix, but it addresses a root cause that patio repair alone cannot solve. Budgeting for professional foundation insulation, typically a few thousand dollars depending on the home’s perimeter, often costs less than repeatedly repairing or replacing a patio damaged by the same underlying issue.
Metal Edging and Structural Support Components
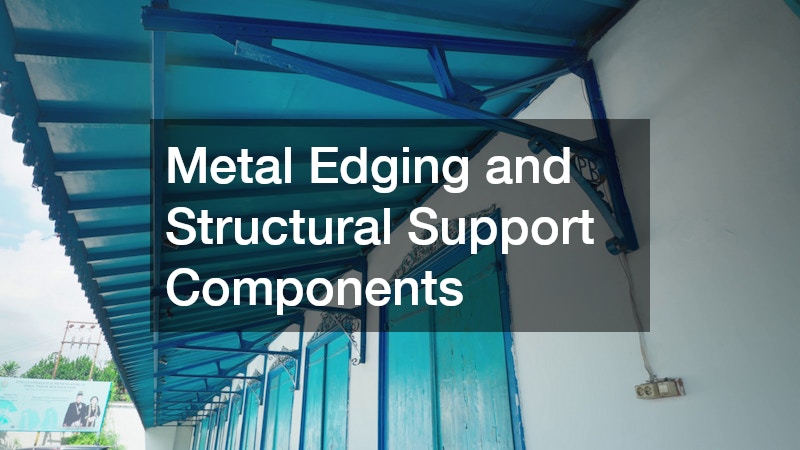
Many modern patios rely on metal edging, railings, or structural supports to keep pavers contained and to reinforce raised sections. If these components are made from low grade materials or installed without accounting for ground movement, they can bend, rust, or pull away from the patio during winter freezing. This allows pavers to shift out of alignment even if the base beneath them was installed correctly.
For patios with custom metal borders, pergola supports, or decorative railings, working with an architectural metal contractor ensures the components are fabricated from weather rated materials and installed with enough flexibility to handle seasonal ground movement. Cutting costs on these details is a common oversight that only becomes apparent after the structure has faced a full winter cycle.
A patio that fails after just one winter is rarely due to bad luck. It is almost always the result of a specific, identifiable issue in the base, drainage, materials, or surrounding systems that can be diagnosed and corrected. Before you rebuild, take the time to understand exactly what went wrong so you are not paying to repeat the same mistake. With the right diagnosis and the right professionals involved, your next patio can be built to actually survive the winters ahead.
