

Every home has a limited renovation budget and an unlimited list of things that could be improved, which means the order you tackle projects in matters just as much as the projects themselves. Fixing cosmetic issues before structural or mechanical ones is a common and costly mistake that can undo new paint, flooring, or landscaping within a year or two. A smart upgrade sequence starts with the systems that protect the house itself, then moves toward comfort, and finally toward aesthetics and lifestyle additions.
This guide walks through that order room by room and system by system, so you can protect your investment instead of accidentally working against it.
Start With the Roof and Exterior Water Management
Before you spend a dollar on interior finishes, make sure the envelope of your home is sound, because water intrusion is the single fastest way to destroy new work. A compromised roof can quietly soak insulation, warp framing, and grow mold behind walls long before you notice a stain on the ceiling. Getting a professional inspection from established roofing companies should be one of the first calls you make when planning any renovation timeline, especially if your roof is more than 15 years old.
Once the roof itself is confirmed sound, turn your attention to how water moves off of it. Clean, properly pitched gutters are what actually carry that water away from your foundation instead of letting it pool at the base of your home. Skipping this step is like painting a room with the window open during a storm; the underlying problem will eventually show up again.
- Schedule a roof inspection every 2 to 3 years, or immediately after major storms
- Check gutters for sagging, rust, or separation from the fascia twice a year
- Confirm downspouts direct water at least 4 to 6 feet away from the foundation
- Replace cracked or curling shingles before they lead to interior leaks
Secure the Foundation and Basement Before Finishing Anything Below Grade
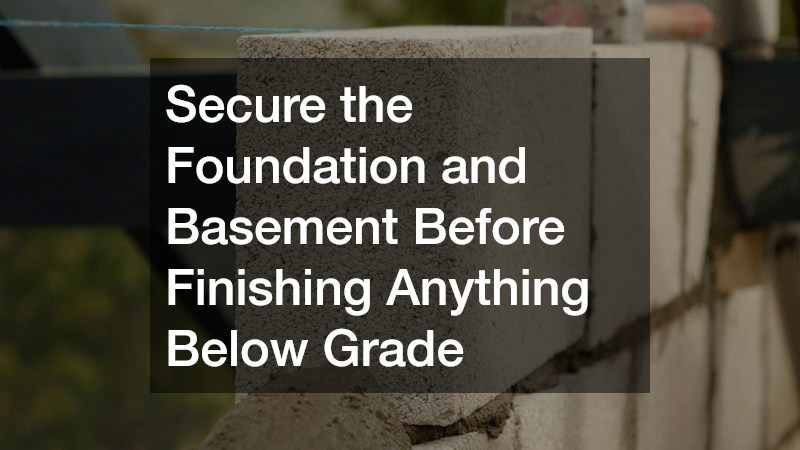
A finished basement is one of the most popular ways to add usable square footage, but it is also one of the most misused upgrades when done out of order. Moisture problems, cracks, and poor drainage need to be resolved first, because drywall, flooring, and paint installed over an unresolved water issue will fail again within a year or two. Basement finishing should always begin with a dry, tested space, not with the fun part like paint colors or a home theater layout.
If you have had even minor dampness, standing water, or a musty smell in the basement, address that before signing off on any finishing plans. A licensed contractor can pressure test drainage systems, seal cracks, and confirm your sump pump is functioning before framing begins. This sequencing protects both your finished materials and your family’s health, since mold remediation after the fact is far more expensive than prevention.
- Test for moisture with a simple plastic sheet test taped to the wall for 24 hours
- Grade soil around the foundation so it slopes away from the house
- Install or service a sump pump before finishing floors
- Choose moisture-resistant materials for framing and insulation in below-grade spaces
Update Aging Electrical Systems Before Any Cosmetic Room Makeover
It is tempting to jump straight into a kitchen or bathroom remodel with new cabinets and fixtures, but outdated wiring behind the walls is a safety and resale issue that should be addressed first. Homes built before the 1990s often have panels rated for 60 or 100 amps, which cannot safely support modern appliance loads, smart home devices, and multiple charging stations. Signs that your system is due for an upgrade include frequently tripped breakers, flickering lights when appliances kick on, warm outlet covers, or the telltale two-prong outlets found in pre-1960s construction.
Bringing in licensed electrical services to evaluate your panel, outlets, and wiring gives you a clear picture of what needs upgrading before you close up new walls. A qualified electrician can also check for outdated materials like aluminum wiring or knob-and-tube systems, both of which raise red flags for insurers and home inspectors alike. Many will recommend upgrading to a 200-amp panel if you’re planning significant electrification, such as an induction range, EV charger, or heat pump down the road.
This inspection is also the right time to plan for GFCI and AFCI protection in kitchens, bathrooms, and bedrooms, since many older homes lack these code-required safeguards. Addressing these issues before drywall and finishes go in saves you from costly rework and repeated contractor visits later. Skipping this step to save money upfront often costs far more once problems surface behind a freshly renovated wall.
This step matters even more if you are planning additions like a finished basement, a home office, or an outdoor kitchen, since each of these adds new demand to your electrical system. A basement with a home theater, mini-fridge, and multiple outlets can easily push a dated 100-amp panel past its limit, while an outdoor kitchen with a grill, fridge, and lighting often needs its own dedicated circuit run underground. If your home still has a fuse box or a panel rated below 150 amps, it’s worth having an electrician evaluate whether it can handle your renovation plans before you finalize any design.
Waiting until after the drywall is finished to discover you need a panel upgrade means tearing into brand new walls, patching, repainting, and paying for labor twice. It can also delay your project by weeks if permits and inspections are required for the panel work, since most municipalities won’t sign off on finished walls hiding non-compliant wiring.
Handling electrical work early also gives you the chance to add outlets, lighting circuits, or dedicated lines exactly where you will need them. This is the time to plan for things like USB-integrated outlets in bedrooms, 20-amp circuits for kitchen countertop appliances, or conduit runs for future EV chargers and smart home hubs. Thinking through these details before walls close up can save thousands of dollars compared to retrofitting later.
- Have a licensed electrician inspect panels older than 20 years, especially fuse boxes or Federal Pacific/Zinsco brands known for safety issues
- Upgrade to a 200 amp panel if you plan to add major appliances, an EV charger, a hot tub, or central AC
- Add GFCI outlets in kitchens, bathrooms, garages, and outdoor spaces if they’re missing — code now requires them within 6 feet of water sources
- Add AFCI breakers in bedrooms and living areas to guard against arc-fault fires in older wiring
- Map out lighting and outlet needs before walls are closed up, including recessed lighting, under-cabinet strips, and USB outlets
- Budget an extra 10-20% for electrical work, since opening walls often reveals outdated or unsafe wiring
- Pull permits and schedule inspections for panel upgrades — skipping this can complicate resale and insurance claims later
Address Water Heating Needs Before Bathroom or Kitchen Renovations
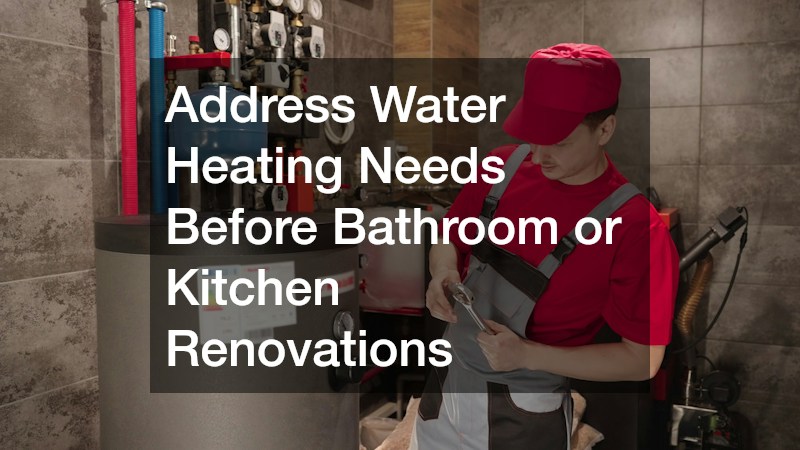
A leaking, undersized, or aging water heater is another behind-the-scenes issue that should be resolved before you invest in new tile, vanities, or kitchen fixtures. If your unit is nearing the end of its 10 to 15 year lifespan, scheduling water heater repair or a full replacement ahead of a remodel prevents the frustrating scenario of a flooded new bathroom floor. It is far easier to plan around this equipment when walls and flooring are still open.
Many homeowners use a remodel as the natural point to switch to a tankless water heater, since it frees up floor space and can lower long-term energy costs by heating water on demand rather than storing it. This decision affects plumbing layout, venting, and sometimes gas line sizing, so it needs to be finalized before installers start running new pipes behind the walls. Making this call early avoids the cost and mess of retrofitting later.
- Check the age of your water heater using the serial number on the manufacturer label
- Watch for rust colored water, popping sounds, or inconsistent temperatures as warning signs
- Compare tank and tankless options based on household size and hot water demand
- Plan venting and gas line needs before finishing new bathroom or laundry walls
Handle Garage Door and Entry Point Repairs Before Interior Cosmetic Work
The garage is often overlooked in renovation planning, but it is a major entry point into the home and a common source of safety hazards. A garage door spring under tension can cause serious injury if it fails, and a broken garage door spring repair is not a project most homeowners should attempt on their own. Addressing this early protects your family and prevents a stuck or malfunctioning door from becoming a security gap during construction.
Beyond safety, a properly functioning garage door affects insulation and energy efficiency, since gaps and imbalances let conditioned air escape. If you are planning to finish the garage into livable space or add storage systems, get the door and opener mechanics squared away first. This keeps the sequence logical: structural and safety items before organizational or cosmetic upgrades.
- Listen for grinding, snapping, or uneven movement when opening the door
- Never attempt to replace a torsion spring without proper tools and training
- Test auto-reverse safety sensors twice a year
- Weatherstrip the door bottom and sides once mechanical issues are resolved
Replace Aging Kitchen Appliances Before Full Kitchen Remodels

Kitchens are often the most requested remodel, but replacing cabinets and countertops around appliances that are near failure is a backwards approach. If your refrigerator, range, or dishwasher is more than 10 years old, get quotes and measurements from a reputable appliance dealer before finalizing your kitchen layout. This ensures new cabinetry is built around correctly sized, modern appliances rather than forcing you to special order units later to fit an existing gap.
Working with an experienced appliance dealer also gives you access to updated information on energy-efficient models, smart features, and installation requirements that may affect your electrical or plumbing plans. It is far cheaper to adjust a cabinet opening by an inch during design than to modify finished cabinetry after the fact. Sequencing appliance decisions before cabinet installation keeps the entire project on budget and on schedule.
- Measure appliance openings before ordering custom or semi-custom cabinetry
- Ask about Energy Star ratings to reduce long-term utility costs
- Confirm delivery timelines so appliances arrive before final kitchen inspection
- Consider gas, electric, or induction range requirements before finalizing electrical plans
Build Outdoor Storage Solutions Before Landscaping the Yard
Once the major systems inside the home are addressed, attention often shifts outward to the yard, and this is where sequencing still matters. If you know you want additional storage for lawn equipment, seasonal items, or tools, working with a storage shed builder before finalizing landscaping design prevents costly do-overs. Placing a shed after new sod, irrigation lines, or plantings are in are already installed often means damaging that work to make room.
A good storage shed builder will also help you think through foundation type, drainage, and placement relative to property lines and utility easements. This is especially important if your yard has slope issues or if local codes require permits for structures over a certain size. Planning this early keeps your outdoor space functional rather than reactive.
- Check local permit requirements before breaking ground on a shed
- Choose a location with good drainage and easy access from the driveway
- Consider future landscaping plans so the shed does not block sun or walkways
- Match shed materials to your home’s exterior for better resale appeal
Define Property Boundaries Before Final Landscaping Touches

Fencing is another exterior project that should happen before the finishing landscaping stages, particularly if you are adding privacy screening, pet containment, or a pool barrier. Installing fencing after new plant beds, patios, or irrigation systems are complete often means undoing recently finished work to set posts or run gates. Getting quotes and finalizing your fencing plan early keeps the entire outdoor project moving in a logical direction.
Fencing decisions also intersect with property surveys and local setback requirements, so confirming boundaries before installation avoids disputes with neighbors down the road. If your yard slopes or has drainage challenges, this is worth addressing at the same time, since fence posts can be affected by shifting or saturated soil. Sequencing this step correctly protects both your landscaping investment and your relationship with neighboring property owners.
- Have property lines surveyed before setting posts near boundaries
- Choose materials based on climate, maintenance tolerance, and privacy needs
- Coordinate fence installation with any planned irrigation or drainage work
- Check HOA or municipal codes for height and style restrictions
Conclusion
Protecting your investment is less about which upgrades you choose and more about the order in which you tackle them. Starting with the roof, gutters, foundation, electrical systems, and water heating gives every later project a stable, safe foundation to build on, while sequencing garage, kitchen, and outdoor work correctly prevents expensive rework. Before you pick paint colors or furniture, take stock of the systems above and address any that are overdue for attention. A little planning now, room by room and system by system, will save you significant time and money over the life of your home.
