
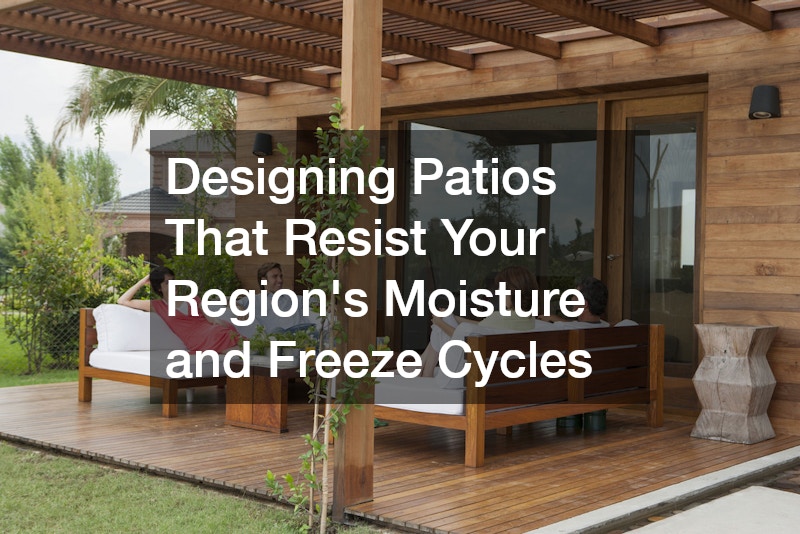
A patio that looks great in its first summer can crack, heave, or crumble within a few winters if it wasn’t designed for your local climate. Freeze-thaw cycles, heavy rain, and shifting soil moisture put constant stress on hardscaping, and the wrong base, material, or drainage plan will show cracks faster than you’d expect. Whether you’re planning a brand-new patio or trying to figure out why your current one is failing, understanding how moisture and freezing interact with your design choices will save you money and frustration. This guide walks through the key decisions that determine whether your patio holds up for decades or needs repair after every winter.
Grading and Slope for Proper Water Runoff
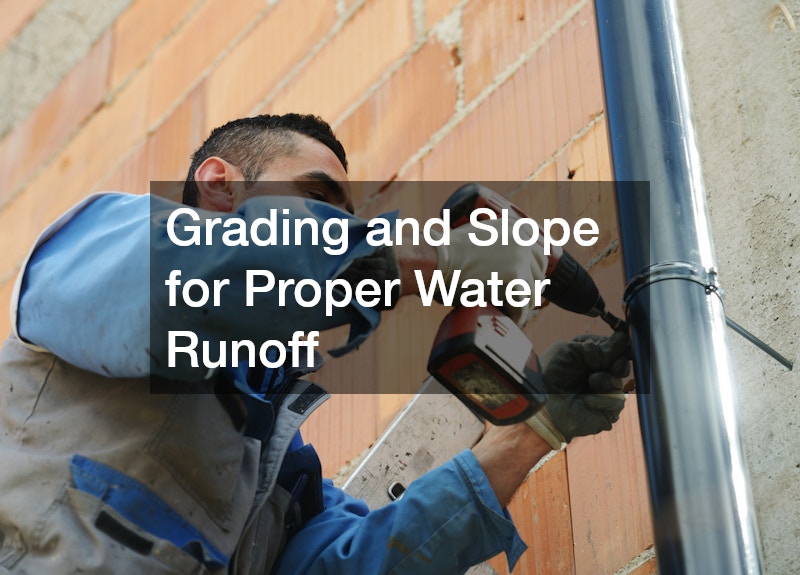
Before any patio material goes down, the ground beneath it needs to shed water away from the house and away from the patio surface itself. A slope of about one-quarter inch per foot is the standard recommendation for most hardscape projects, giving water somewhere to go instead of pooling and seeping into joints. Poor grading is one of the most common reasons patios heave in winter, because trapped water expands when it freezes and pushes slabs or pavers out of alignment.
If your yard already has drainage problems, it’s worth addressing them before the patio goes in rather than after. A plumbing contractor can sometimes help identify whether underground pipes or downspout extensions are contributing to standing water near your patio site, especially if runoff seems to collect in one particular corner of the yard. Fixing the source of excess moisture is far cheaper than repairing a patio that’s already failed.
Base Material Selection for Freeze-Thaw Stability
The base layer underneath a patio matters more than the surface material in regions with real winters. Compacted gravel, typically crushed stone in the three-quarter inch range topped with a layer of smaller aggregate, allows water to drain through rather than sit against the underside of pavers or concrete. A base that’s too shallow or made of the wrong material will let frost heave lift sections unevenly, even if the surface material itself is rated for cold climates.
Depth requirements vary by region, and homeowners in colder zones typically need a deeper base than those in milder climates. Local frost line depth is the number to ask about, since building below that line reduces the chance of heaving significantly.
- A four to six inch gravel base works for many moderate climates
- Colder regions may require eight to twelve inches of compacted base
- Open-graded aggregate drains better than dense-graded options
- Skipping proper compaction is a leading cause of early settling

Choosing Between Pavers, Poured Concrete, and Natural Stone
Each patio material handles moisture and freezing differently, and the right choice depends heavily on your climate. Interlocking pavers tend to perform well in freeze-thaw regions because individual units can shift slightly without cracking the entire surface, unlike a single poured slab. Natural stone can be beautiful but varies widely in porosity, so a stone that absorbs water readily is a poor match for a climate with frequent freezing.
If you’re leaning toward poured concrete, talk with concrete companies about air-entrained mixes, which include tiny air bubbles that give water room to expand without cracking the slab. This detail matters enormously in colder climates and is often overlooked by homeowners comparing quotes based on price alone. Ask specifically whether the mix design is rated for your regional freeze-thaw exposure before signing a contract.
Sealing and Joint Maintenance to Block Moisture Intrusion
Even a well-built patio needs ongoing protection from water intrusion at the surface level. Sealants help repel moisture from concrete and porous stone, reducing the amount that can seep into small cracks and expand during freezing weather. Polymeric sand in paver joints serves a similar purpose, locking joints together while still allowing some flexibility and drainage.
Reapplying sealant every two to three years is typical, though high-moisture regions may need more frequent attention. Skipping this maintenance step is a common reason patios that were built correctly still develop surface damage over time, since the underlying structure can be sound while the top layer takes on unnecessary water.
- Inspect joints each spring for cracking or sand loss
- Reseal concrete and porous stone every two to three years
- Address hairline cracks before winter to prevent expansion
- Choose penetrating sealers for better freeze-thaw performance
Landscaping Choices That Affect Patio Drainage
What you plant near a patio has more influence on its long-term condition than most homeowners realize. Roots from large trees can grow under a patio and lift sections over time, while overhanging branches drop debris that clogs drainage channels and traps moisture against the surface. In some cases, tree removal near a planned patio site is the more practical long-term choice compared to designing around root systems that will only expand.
Mulch beds and dense plantings placed right up against a patio edge can also hold moisture against the base material, undermining drainage even when the patio itself is well built. Leaving a small gap or gravel border between plantings and the hardscape gives water somewhere to escape instead of soaking into the base.
Protecting Nearby Structures From Runoff and Ice Damage
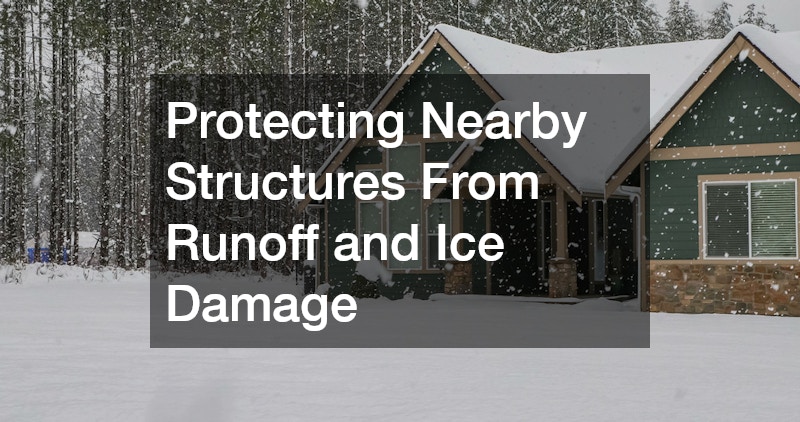
A patio doesn’t exist in isolation, and its drainage plan should account for how water moves toward the house, garage, and other structures. Water directed toward a foundation instead of away from it can eventually contribute to water damage repairs inside the home, particularly in basements or crawl spaces near the patio’s edge. Over time, this same misdirected runoff can also saturate soil beneath footings, contributing to settling or cracking that shows up years later as structural issues rather than obvious water stains. A standard rule of thumb is to grade the patio surface at least a 2% slope, or roughly a quarter-inch per foot, away from the house across the first several feet. Extending downspouts so they discharge at least four to six feet from the foundation reduces this risk considerably, especially where patios sit close to exterior walls.
In colder climates, that extended runoff should also be directed away from walkways and patio edges, since water pooling there simply refreezes into new ice hazards overnight. Where regrading isn’t practical, a shallow channel drain or French drain along the patio’s inner edge can intercept water before it reaches the wall. These systems are particularly useful for patios built below the home’s main floor level, such as sunken courtyards or walkout basement patios, where gravity alone won’t carry water away naturally. Combining surface grading with a hidden drain gives two layers of protection instead of relying on slope alone.
Ice adds another layer of concern beyond simple water flow. Meltwater that refreezes against a foundation wall or garage slab can wedge into small cracks and widen them through repeated freeze-thaw cycles, a process that accelerates every winter it goes unaddressed. Inspecting downspout extensions and drain outlets each fall, before the first hard freeze, helps catch clogs or misalignments while they’re still easy to fix.
Ice buildup near an attached garage is another overlooked issue, since melting and refreezing water can affect the operation of the door track over time. Patios built flush against a garage, or sloped even slightly toward it, can send runoff directly along the foundation line, where it collects and freezes overnight. Over a season of freeze-thaw cycles, that ice can warp tracks, corrode hardware, and even push against the slab enough to crack it.
Homeowners who notice a garage door sticking, misaligning, or making unusual grinding noises after winter should consider whether patio runoff is contributing moisture near the track. Warning signs include visible ice sheets at the base of the door, rust forming on the lower track sections, or a door that operates smoothly in summer but struggles once temperatures drop.
A garage door service call can confirm whether ice or debris is the culprit before assuming it’s a mechanical failure, potentially saving homeowners from replacing parts that were never actually broken. Technicians can also spot early signs of water intrusion, such as swelling at the base of wooden frames or moisture stains along the interior wall. Addressing the drainage problem at the patio level, rather than just repairing the door repeatedly, is usually the more permanent fix.
Seasonal Systems That Interact With Patio Moisture
Patios rarely fail in isolation from the rest of the home’s exterior systems, and it helps to think about them together rather than as separate projects. A patio installed with perfect slope and drainage can still flood every spring if the systems feeding water toward it are neglected or poorly designed. Roofers addressing gutter and downspout issues can make a real difference in how much water ends up at ground level near a patio, since a poorly draining roof often dumps concentrated runoff right at the foundation line. A single clogged gutter during a heavy storm can funnel hundreds of gallons to one corner of the yard within an hour, saturating soil that then pushes moisture laterally into patio joints and base material.
Downspout extensions that carry water at least four to six feet from the foundation, paired with splash blocks or buried drain lines, keep that volume from concentrating exactly where a patio slab or paver base sits. Similarly, siding companies repairing or replacing exterior siding sometimes uncover grading problems at the base of the house that were quietly sending water toward the patio all along.
Improperly flashed siding, missing weep holes, or house wrap installed backward can let water track down behind the cladding and exit right at ground level near patio edges. Because siding crews are already exposing the wall assembly during a project, it’s worth asking them to flag any signs of moisture staining, soft sheathing, or negative grading before they close everything back up, since fixing it then is far cheaper than diagnosing a mystery patio heave two years later.
Your patio doesn’t exist in isolation — it sits at the intersection of several building systems, and freeze-thaw cycles have a way of exposing weaknesses at those seams. The joint where a patio meets the house is especially vulnerable, since two different materials expanding and contracting at different rates can pull apart even a well-installed connection. It’s worth having roofers check that fascia and drip edges are still directing water away from that transition point before cold weather sets in, since a misaligned drip edge can dump runoff directly onto the patio-house junction instead of past it.
Roofers typically look for gutters pitched correctly toward downspouts, drip edges that extend far enough to clear the wall below, and any fascia board that’s begun to rot or pull loose from repeated wetting. A gap of even a quarter-inch at the drip edge can redirect enough water over a winter to saturate the soil right at the patio’s edge, which is exactly where freeze-thaw heaving does the most damage.
Over time, minor settling can open small gaps between the patio slab and the siding — sometimes no wider than a pencil, but enough for meltwater to seep behind the cladding. Siding companies are often best positioned to spot these gaps early, since they already inspect the wall assembly for moisture intrusion during routine repairs and know what healthy flashing and caulking should look like at grade level.
They can also flag whether the weep holes in vinyl or fiber-cement siding are still clear, since blocked weep holes trap moisture right at the point where it will freeze. Addressing these small connection points before winter — recaulking a gap, resetting a downspout, clearing a weep hole — helps prevent water from working its way behind finished surfaces and freezing there. These are inexpensive fixes compared to the cost of repairing spalled concrete or rotted sheathing after a hard winter.
Timing Patio Projects Around Home Renovation Schedules
Patios are often installed alongside other home improvements, and sequencing matters more than people expect. If you’re planning a kitchen remodel that includes a new back door, sliding doors, or exterior access point, it makes sense to finalize that design before pouring or laying a patio that will connect to it. It’s also worth checking whether a heating oil tank fill pipe or delivery access point sits near the planned patio area, since rerouting it after the hardscape is in place is far more disruptive than accounting for it during initial design. Elevation mismatches between a new door threshold and an existing patio are a common and avoidable headache.
Coordinating timelines also reduces the risk of construction equipment damaging fresh hardscape work. Scheduling patio installation after major structural renovations, rather than before, generally leads to a cleaner final result and fewer repairs down the line.
A patio built with your region’s moisture and freeze patterns in mind will outlast one chosen purely for looks, saving you the cost and hassle of frequent repairs. Start by evaluating your yard’s drainage and frost line depth, then choose a base and surface material suited to those conditions rather than the cheapest available option. Taking the time to plan grading, material selection, and maintenance now means you’ll spend far less time patching cracks and heaved pavers in the years ahead.
