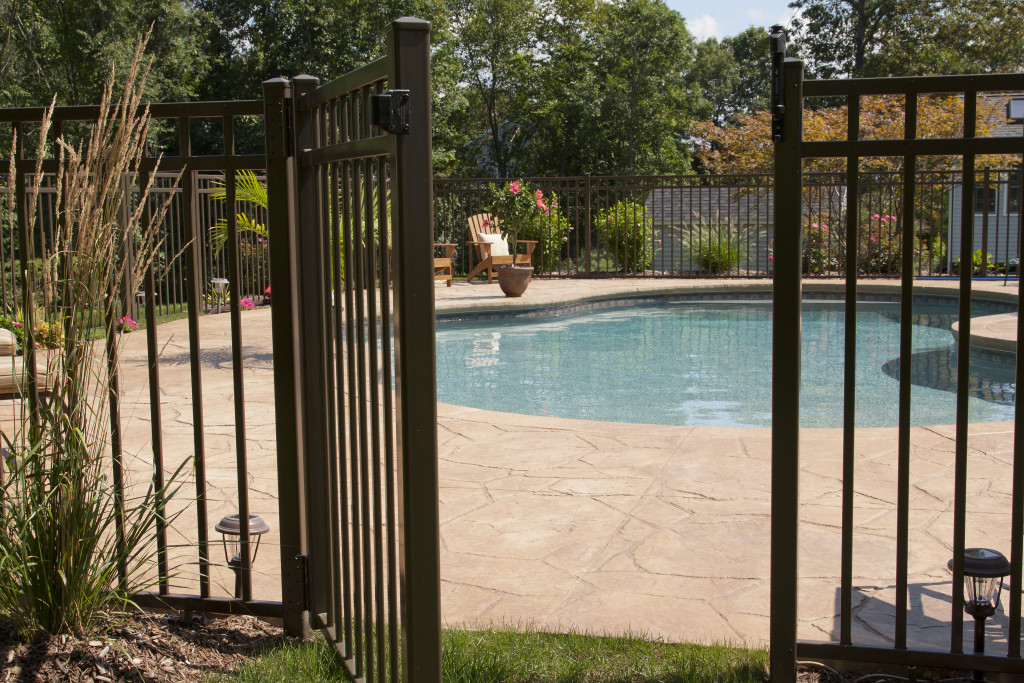
Now that spring is almost here, it’s the perfect time to start planning your summer backyard pool project! Building a DIY in-ground pool is a great way to save money, and with careful planning and execution, it can be a fun project for the whole family.
An in-ground pool is a swimming pool that is installed in the ground. It typically has a more permanent and luxurious appearance than an above-ground pool, and it can be more expensive to install. But if you want to make building a pool this year’s spring DIY project, you’ve come to the right place!

Step 1: Plan your project
The first step in any construction project is planning, and this is no different when building an in-ground pool. Draw up a plan of the area where you want to put the pool, taking into account the size and shape of the pool, as well as the surrounding landscaping. You will also need to determine how deep you want the pool to be and what kind of pool liner you want to use.
Step 2: Purchase supplies and tools
Once you have a plan in place, it’s time to purchase the supplies and tools you will need for the project. You will need a shovel, a pickaxe, a level, a tape measure, and a circular saw. But if you’re going to excavate the hole for the pool yourself, you will also need a backhoe.
You could rent one from a construction supply store or ask a friend if they have one you can borrow. And remember to get the appropriate surface protection products for construction equipment. This way, you won’t damage your driveway or patio while digging the hole for the pool. You will also need to purchase the materials for the pool, including:
- Frame kit
- Pool liner
- Underlayment
- Concrete
- Sand
- Pavers or stone for decking
Step 3: Excavation and preparation
Now it’s time to start digging! You will need to excavate a hole for the pool that is the correct size and shape. Plus, you need to ensure that it is deep enough to accommodate your chosen pool liner. If you are not comfortable using heavy construction equipment like a backhoe, you can have a pool contractor do this part of the job for you.
But be sure to get an estimate for the cost before you hire them. Once the hole is excavated, you will need to prepare the surface for the pool. This involves spreading a layer of sand over the entire area and compacting it with a roller.
Step 4: Frame the pool
The next step is to frame the pool. This involves assembling the metal frame of the pool and setting it in the hole you have dug. Be sure to follow the instructions that come with the frame kit, and use a level to ensure that the frame is level.
Step 5: Install the liner
Once the frame is in place, it’s time to install the pool liner. This is a challenging task, so be sure to follow the instructions that come with the liner. It’s vital to get the liner evenly stretched and make sure there are no wrinkles or bubbles in it.
Step 6: Add the underlayment
After the liner is in place, it’s time to add the underlayment. This is a layer of foam that helps to protect the liner and makes it more durable. By adding this layer, you can help extend the life of your pool liner.
Step 7: Pour the concrete
The next step is to pour the concrete for the pool decking. This can be a challenging task, so be sure to have someone help you. It’s essential to get the concrete evenly spread and make sure there are no bumps or lumps in it.
Step 8: Install the decking
Once the concrete has dried, it’s time to install the decking. This can be done with pavers or stone, depending on your preference. Again, be sure to follow the instructions that come with the decking material.
Step 9: Fill the pool with water
Now it’s time to fill the pool with water and enjoy! Be sure to follow the instructions that come with the pool liner on how to add water. And be sure to take safety precautions, such as using a ladder to get in and out of the pool.
But don’t think that you have to do everything on your own. If you have teenage kids, you could put them to work on the project and teach them some basic construction skills. This way, they can help out with future projects around the house as well! Or you could ask your friends for help — pool building is a great excuse to get together and have a summer BBQ!
Building your own in-ground pool can be a challenging but rewarding project. By following these simple steps, you can have a beautiful pool to enjoy all summer long!