
A beautiful patio can transform your backyard into an outdoor living room, but too many homeowners choose materials and designs based on what looks trendy in photos rather than what will hold up to years of weather, foot traffic, and seasonal changes. The result is often a patio that cracks, shifts, or looks dated within just a few years, leading to costly repairs or a full redo. Building a patio that lasts means thinking beyond the surface and understanding the ground beneath it, the materials you choose, and how your patio connects to the rest of your property. This guide walks you through the practical decisions that separate a patio you will enjoy for decades from one you will regret before the warranty even ends.
Start With the Ground, Not the Surface
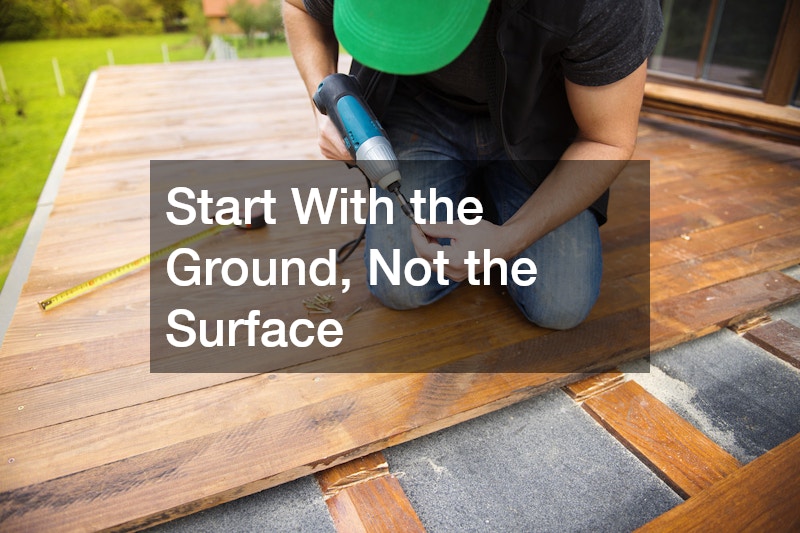
Every long-lasting patio begins with what you cannot see. Soil composition, drainage patterns, and frost depth in your region all determine whether your patio will stay level or start heaving and cracking within a few seasons. Skipping proper excavation and base preparation is the single biggest reason patios fail early, regardless of how attractive the surface material is.
Before any material gets laid, the ground needs to be graded to direct water away from your home’s foundation and any nearby structures. This is also the point where many homeowners realize their project overlaps with other systems on their property, since poor grading can affect everything from garden beds to walkways.
- Have the soil tested or evaluated if you live in an area with heavy clay or expansive soil
- Plan for a slope of about one inch per four feet away from the house
- Compact the base material in layers rather than all at once
- Account for local frost line depth when digging footings or bases
Choose a Base Material That Matches Your Climate
The base layer beneath your patio surface does more work than most homeowners realize. A compacted gravel or crushed stone base allows water to drain rather than pool, which prevents the freeze-thaw cycles that crack pavers and concrete alike. Skimping on base depth to save money upfront almost always costs more in repairs later.
In colder climates, a deeper base is essential since freezing water expands and pushes surfaces upward unevenly. In warmer, drier climates, the priority shifts more toward compaction and stability rather than frost protection. Either way, this is a step where professional guidance pays off, since getting it wrong is expensive to fix once the surface material is already installed.
Compare Long Lasting Patio Surface Materials
The material you choose for the visible surface affects not just the look of the finished space but how it ages, how much maintenance it needs, and how well it handles your local climate. Trendy materials often prioritize appearance over performance, which can be a problem if you live somewhere with harsh winters, intense sun, or heavy rainfall. Comparing options honestly before committing will save you from a costly do-over.
- Natural stone offers excellent durability and a timeless look, though it comes at a higher price point
- Poured concrete is versatile and long-lasting when properly reinforced and sealed
- Interlocking pavers allow for easier repairs since individual pieces can be replaced
- Brick provides classic style but can be more prone to shifting in freeze-thaw regions
- Composite decking materials work well for raised installations but are not ideal for ground-level use in wet climates
Work With Concrete the Right Way
Poured concrete remains one of the most popular patio choices because of its strength and adaptability, but not all concrete work is created equal. Reputable concrete companies will always recommend proper reinforcement with rebar or wire mesh, correct thickness for your climate, and control joints to manage cracking as the material naturally expands and contracts. Cutting corners on any of these steps is a common cause of premature cracking.
Sealing your concrete patio every few years also extends its life significantly by protecting it from moisture penetration, staining, and surface scaling. Homeowners who skip this maintenance step often find themselves dealing with spalling or discoloration much sooner than expected. Asking your contractor about the specific sealant recommended for your local climate is a simple way to protect your investment.
Bring In the Right Professionals for the Job

A patio project rarely exists in isolation, and coordinating with the right people from the start prevents costly mistakes. General contractors can help manage the overall project timeline, especially when a patio installation involves electrical work for outdoor lighting, plumbing for an outdoor kitchen, or structural changes near your home, such as tying into an existing roofline for a covered patio. Beyond scheduling, a good general contractor knows which permits your municipality requires and when inspections need to happen, so work doesn’t stall halfway through. They also coordinate subcontractors like electricians, masons, and drainage specialists so tasks happen in the right order rather than creating conflicts on site. Trying to manage all these moving parts yourself without experience often leads to delays, budget overruns, or code violations that surface only after the concrete has cured or pavers are set. Fixing a drainage slope or buried conduit after the fact can cost far more than getting it right the first time. Bringing in licensed professionals upfront, even for a modest-sized patio, typically pays for itself in avoided rework and a longer-lasting final result.
A durable patio isn’t just a masonry project — it’s often a multi-trade effort, and knowing when to call in specialists can save you thousands down the road. If your design includes water features, an outdoor sink, or a connection to an existing irrigation system, a licensed plumber should be involved early in the planning process rather than as an afterthought. Plumbers can identify existing shutoff valves, water pressure issues, and drainage slopes that affect where a patio can safely be built. Rerouting pipes after a patio surface is already installed is far more expensive than planning ahead — what might cost a few hundred dollars during the design phase can turn into a multi-thousand-dollar repair once pavers, concrete, or stone have already been set. Cutting into a finished surface to fix a hidden line also risks cracking adjacent material or leaving repair patches that never quite match. It’s a common, avoidable mistake that homeowners regret only after the damage is done. Beyond plumbing, consider whether your project needs an electrician for outdoor lighting or a permitted circuit for a hot tub, or a structural engineer if the patio ties into a retaining wall or elevated deck. Each of these professionals sees potential problems that a general contractor alone might miss. Getting these details right from the beginning keeps your project on budget, on schedule, and built to actually last.
Protect Nearby Structures During Installation
Patio construction often happens close to the house, and that proximity means nearby systems can be affected by digging, vibration, or water redirection. Excavation for footings or base material can settle soil unevenly, and heavy equipment working within a few feet of your foundation can transmit vibration that finds its way into existing weak points in your walls. If your patio sits near exterior walls, it is worth having a look at your home’s exterior finish before construction begins, since existing cracks or damage can worsen with nearby excavation. Walk the perimeter and check for hairline cracks, bulging sections, or areas where the finish sounds hollow when tapped — these are signs that the surface is already compromised and vulnerable to further stress. Addressing stucco repair before a patio project starts is far easier than trying to fix wall damage after new hardscaping is already in place. Once pavers, concrete, or stone are set within inches of the wall, contractors need more time and care to access the damaged area without disturbing the new surface, which often adds unnecessary cost to a simple fix. It also pays to think about drainage and downspouts before breaking ground. Redirecting water away from the house is a normal part of patio grading, but if that redirection sends runoff toward a different section of wall, you could end up trading one problem for another a year or two down the line.
It is also worth checking that construction activity will not interfere with outdoor HVAC services equipment, such as a condenser unit or heat pump, which often sits along exterior walls near patio areas. Manufacturers typically recommend at least 24 to 36 inches of clearance on all sides of a condenser for adequate airflow, so pavers or slabs shouldn’t crowd that footprint. Contractors should confirm these specs before excavation begins, since cutting it too close can force costly rework later. Beyond airflow, technicians need room to access refrigerant lines, disconnect switches, and drain pans when servicing the unit. A patio that boxes in this equipment with a raised edge or built-in seating wall can turn a routine HVAC services call into a difficult, more expensive repair. Leaving a clear access path, ideally at least two to three feet wide, keeps future maintenance simple. Gas meters, electrical panels, and irrigation backflow preventers deserve the same scrutiny, as these are often overlooked until the patio is already poured. Planning your layout with all existing systems in mind, not just HVAC equipment, avoids expensive relocation costs down the road and keeps utility providers from needing to jackhammer through new hardscaping.
Coordinate Patio Work With Nearby Home Features
This new hardscaped area often sits near garage doors, side entrances, or transitional walkways, and it is worth thinking about how the surrounding grading and layout will affect these features. If the finished slope changes near your garage, you may need to reassess clearance or drainage around a garage door installation to prevent water from pooling near the opening. This kind of coordination is easy to overlook until water starts collecting in the wrong place.
Similarly, if the new surface connects directly to an interior space through sliding doors or a sunroom, matching transitions and thresholds matters both for appearance and for keeping water out of the house. Taking time to walk through these connection points with your contractor before construction begins helps avoid awkward step-ups or drainage issues later.
Extend Durability With Complementary Indoor Upgrades
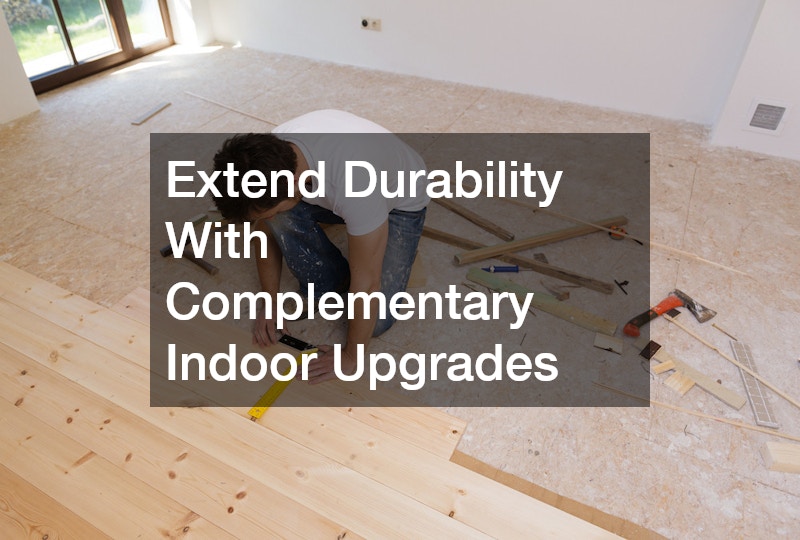
A durable outdoor space often inspires homeowners to think about the transitions between indoor and outdoor living. If your patio leads into a sunroom, mudroom, or kitchen, it may be the right time to also evaluate your interior flooring, especially if moisture or temperature changes near the entry point have caused wear. Bringing in a flooring installation company to assess transition areas ensures water and dirt from outside are not compromising your indoor flooring investment.
Matching materials or at least complementary tones between indoor and outdoor spaces also creates a more cohesive look that ages well rather than feeling like two disconnected projects. This is a smaller investment compared to the patio itself but makes a noticeable difference in how finished the whole space feels.
Maintain Your Patio for the Long Haul
Even the best-built patio needs ongoing care to truly last decades rather than just years. Seasonal cleaning, resealing, and prompt attention to small cracks prevent minor issues from becoming major structural problems. Neglecting maintenance is one of the most common reasons homeowners end up disappointed with a patio that was actually built correctly in the first place.
Landscape maintenance around your patio also plays a bigger role in longevity than most people expect. Roots from nearby trees or shrubs can lift pavers and crack concrete over time if left unchecked, while poorly managed drainage in garden beds can direct excess water toward your patio base. Regular trimming, root barriers where needed, and mindful planting choices near your hardscaping all help protect your investment.
- Reseal concrete or stone surfaces every two to three years depending on climate
- Sweep debris regularly to prevent staining and moisture retention
- Inspect joints and seams annually for signs of shifting
- Trim back roots and vegetation encroaching on patio edges
- Address small cracks immediately before winter freeze cycles
Think About the Roof Above Your Patio Space
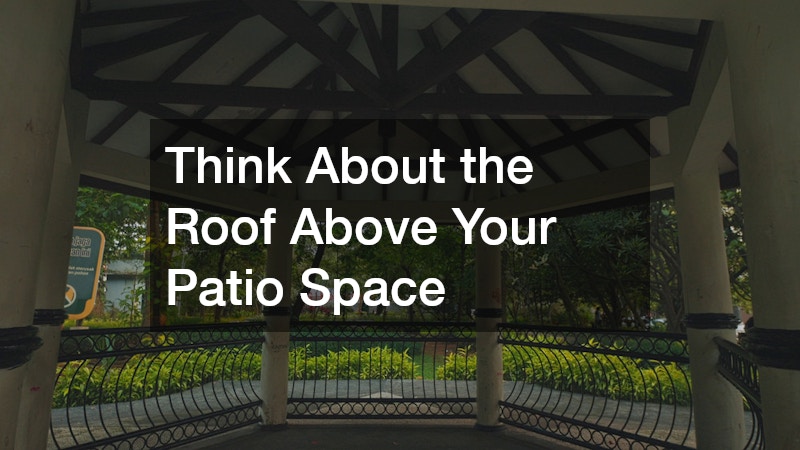
Many homeowners choose to add a covered outdoor living space or attach a roof extension for shade and weather protection, and this decision deserves the same attention to durability as the ground-level work. A qualified roofing company can advise on materials that match your existing roofline while ensuring proper flashing and drainage so water does not pool or leak at the connection point. This is a detail that is often rushed but causes significant water damage if handled poorly.
Ventilation and slope also matter for covered outdoor structures, since a flat or improperly pitched roof addition can lead to standing water and premature material failure. Taking the time to plan this structural addition correctly, ideally with input from an experienced roofing company, means your covered space will hold up just as well as the surface beneath it.
Building a patio that truly lasts takes more patience and planning than chasing the latest design trend, but the payoff is an outdoor space you can enjoy for decades without constant repairs. Focus first on the fundamentals of ground preparation, material selection, and proper drainage, then bring in the right professionals to handle the details that affect your home’s other systems. Taking a whole-property view, rather than treating your patio as an isolated project, protects your investment and your home’s overall value. Start with a clear plan, ask the right questions of every contractor involved, and you will end up with a patio built to handle real life for years to come.
